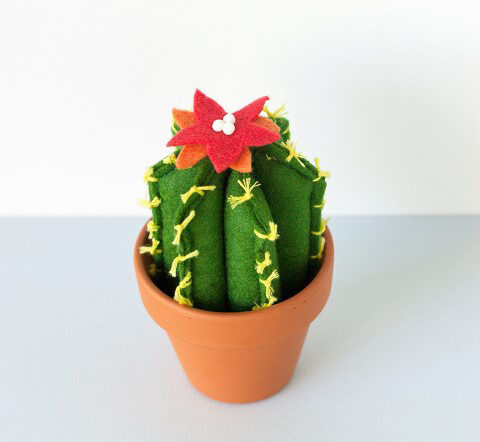
How to make a cute felt cactus
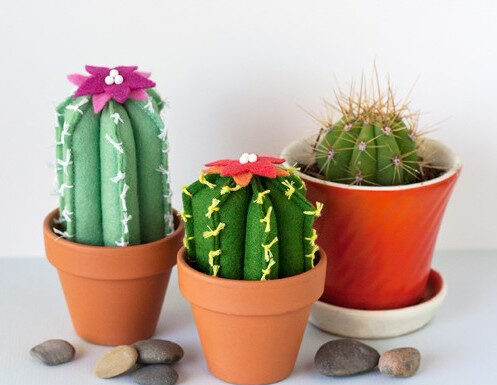
How to make a cute felt cactus
What do you need:
- Felt
- Embroidery floss
- Sewing thread & needle
- Fiberfill
- Small terracotta pots
- Pins
- Scissors
- Sewing machine
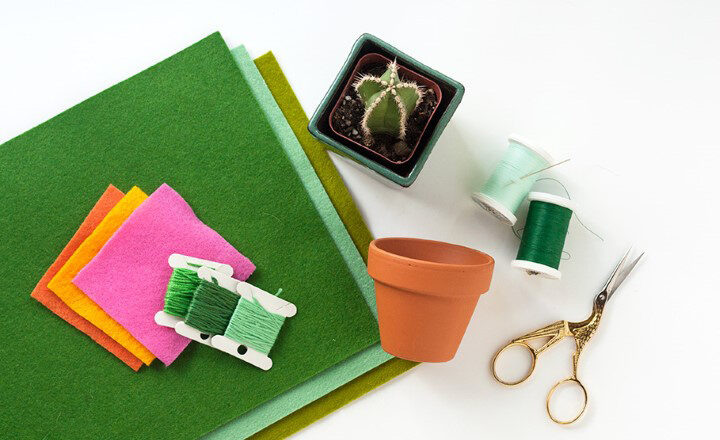
Step 1
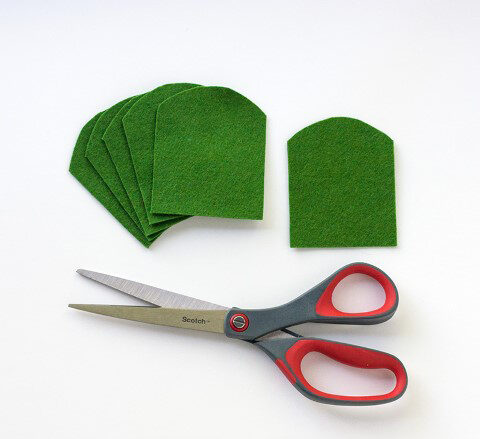
Choose a green-colored sheet of felt and cut out 6 rounded dome shapes as shown below. You can make your own paper template first or cut out one shape, and use that as a template for cutting the other 5. Keep in mind the width should be about the same as the diameter of your terracotta pot. The length can be as long or as short as you like (depending on what type of cactus you like best).
Step 2
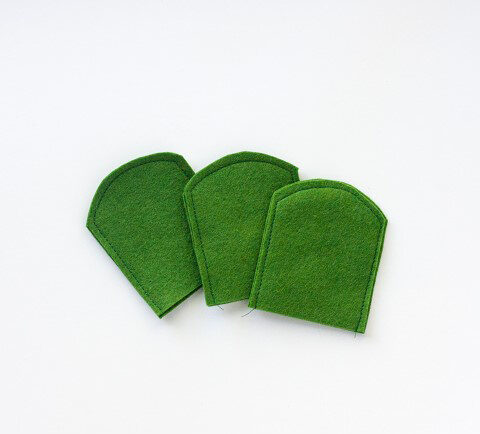
Pair up your cut pieces and sew along the edge, leaving the bottom open as shown in the photo below. When sewing, keep in mind that this seam will be visible on the finished product.Pair up your cut pieces and sew along the edge, leaving the bottom open as shown in the photo below. When sewing, keep in mind that this seam will be visible on the finished product.
Step 3
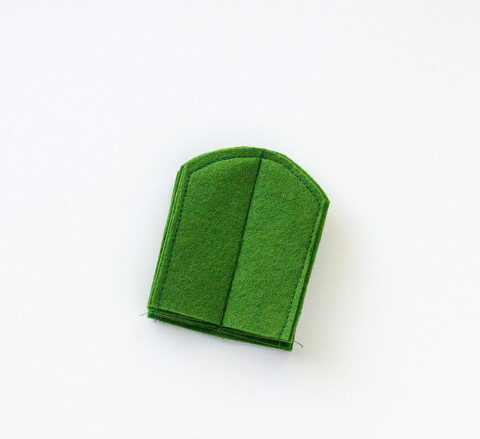
Next, stack the three sewn pieces on top of one another and sew a line down the center, through all 6 layers of felt.
Step 4
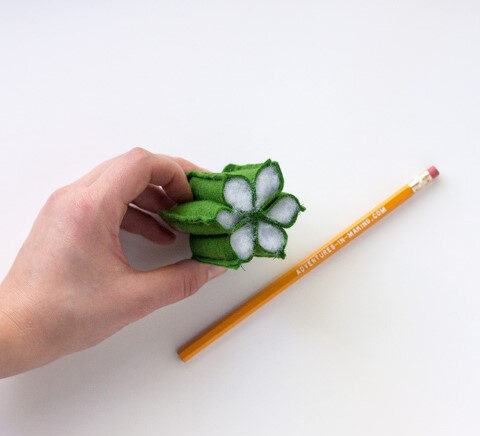
Stuff each section with fiberfill. I used a pencil to help stuff each section nice and full.
Step 5
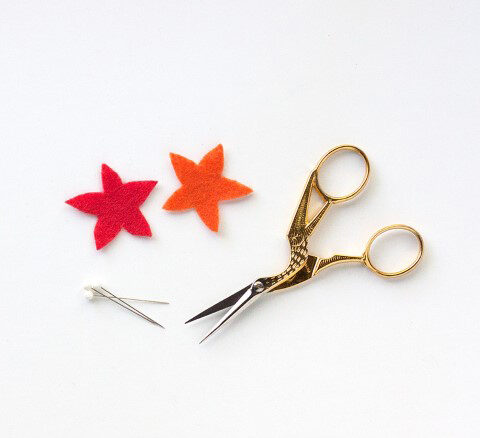
Now your cactus is starting to take shape! Next, choose some bright colored felt and cut out two little flowers (to be layered on top of each other). This is one of the best parts about a felt cactus…it is forever in bloom!
Step 6
Use three pins to secure the flowers to the top of your cactus (the pins creating the center of the flower).
Next, use embroidery floss to create the pokey spikes. Thread your needle with embroidery floss but don’t tie a knot in the end. Poke through the edges of the cactus but be sure to leave a thread. Tie it in a knot and then clip your thread. Once you have all your spikes, you can trim them all to match and be the same length.
Once you’re finished, insert your cactus into a terracotta pot and you’re done!
