Roll out the clay and gently lift into the bowl. Press it into place with your fingertips gathering all the extra clay to one point. Cut off the excess lump of clay and all of the clay around the edge of the bowl. Get yourself a small bowl of water and start smoothing out all the lumps, creases and cracks.
At the point where you cut away the excess clay carefully pull the clay away from the edge of the bowl. Smooth over the join the push back into place.
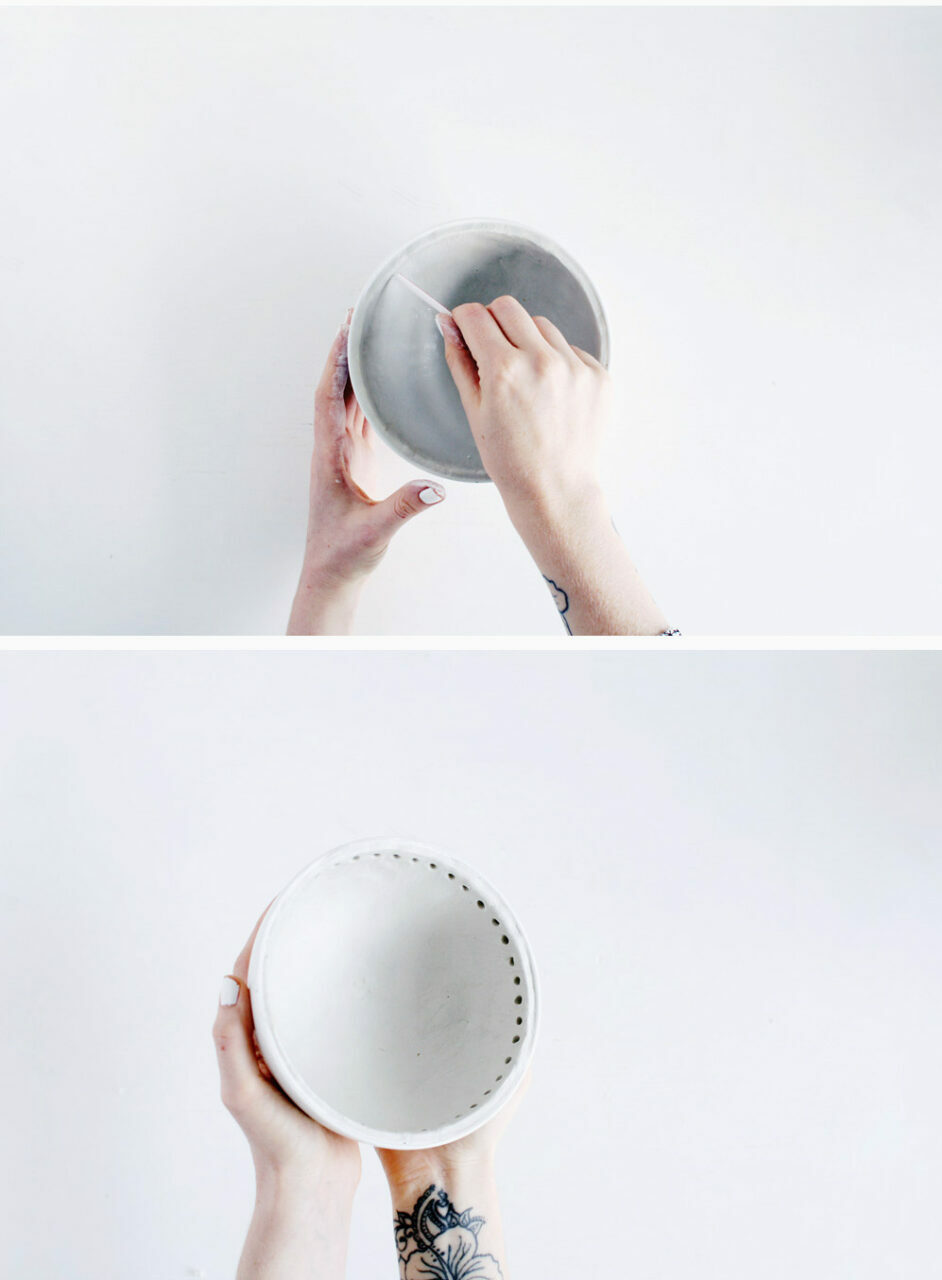
Step 2
Using the flat end of the straw make holes around the edge of the bowl and leave the clay to dry out.
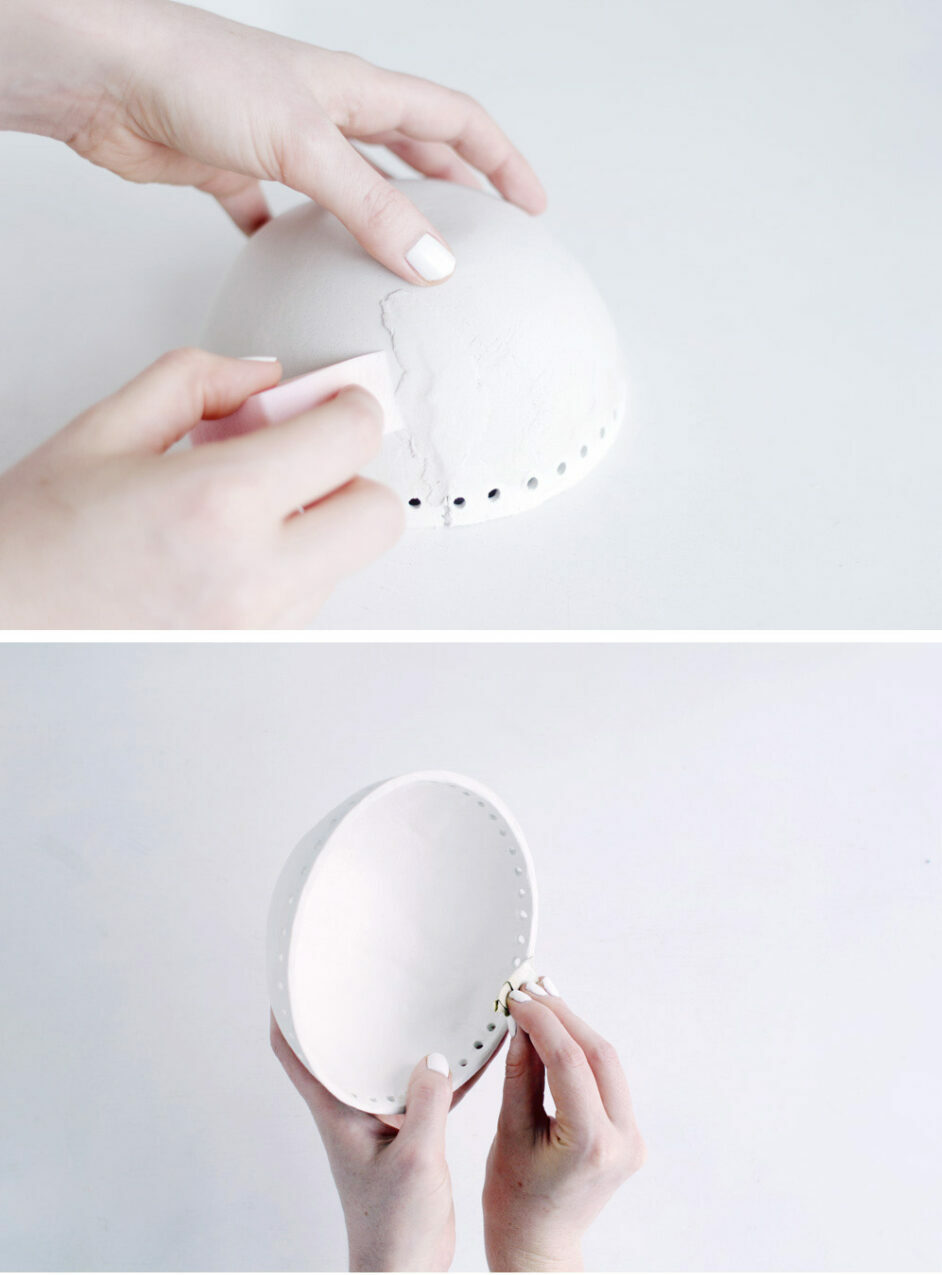
Step 3
Once the clay has fully dried out remove the pot from the bowl. If there are any obvious cracks or creases roll out a thin layer of clay and smooth over the area using a wet make-up sponge to smooth into the clay. Leave it to dry again and sand until smooth.
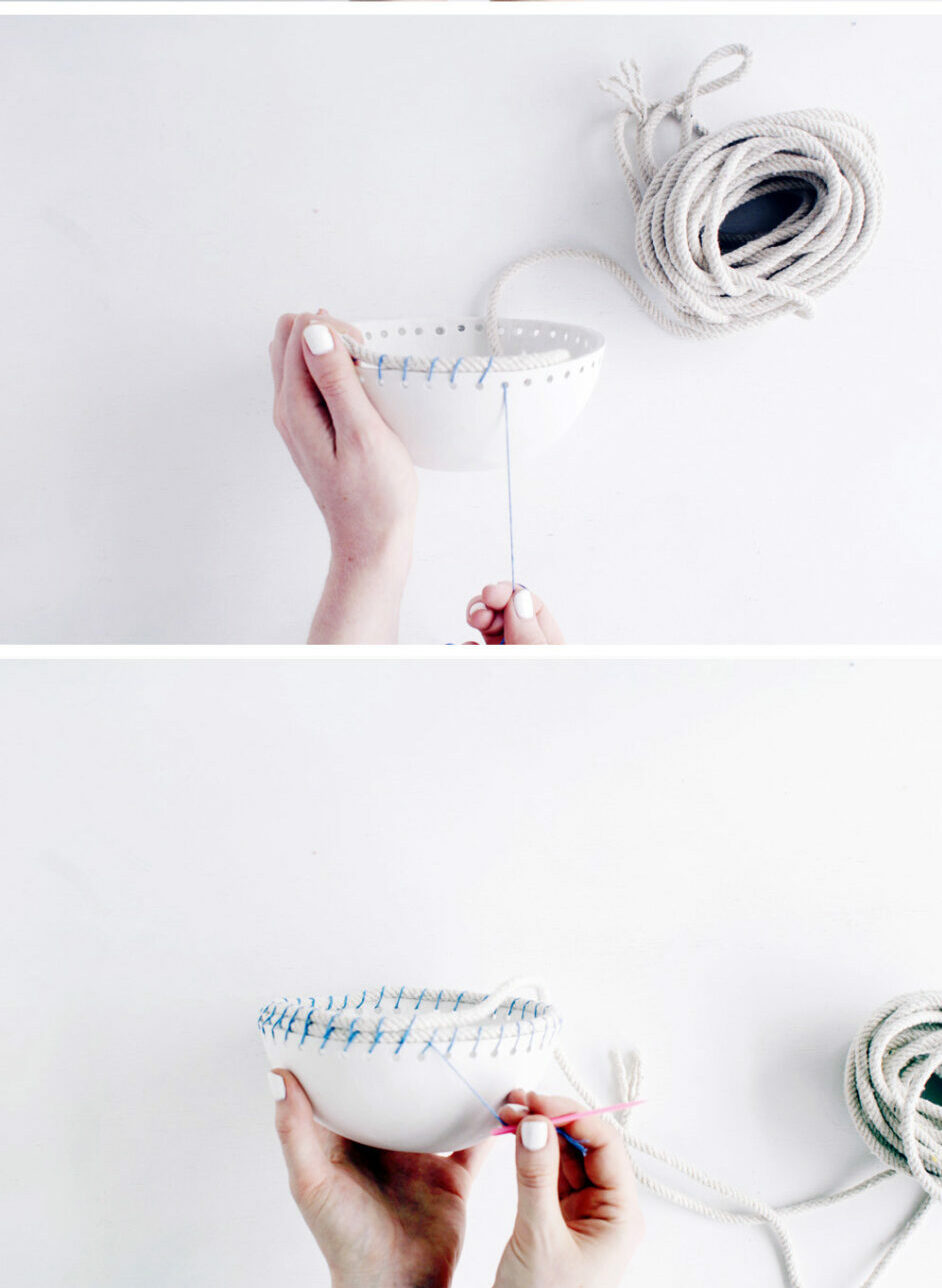
Step 4
Cut off a long piece of embroidery thread and thread on the needle. Sew it through each of the holes in the bowl and around the rope. Once the rope is wrapped around the bowl one whole time, thread the floss under the last row of rope and over the new layer.
Continue until you’re happy with the height of the bowl and finish at the same point you had started. Tie off the thread and cut off the excess rope.
That’s it!
If you liked the article, please share with your friends - click on the social buttons