How to make a felt cactus bookmark
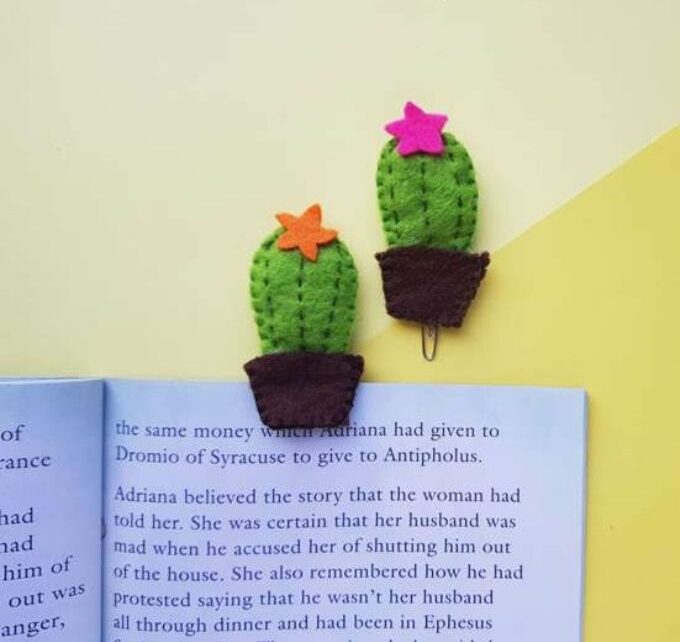
How to make a felt cactus bookmark
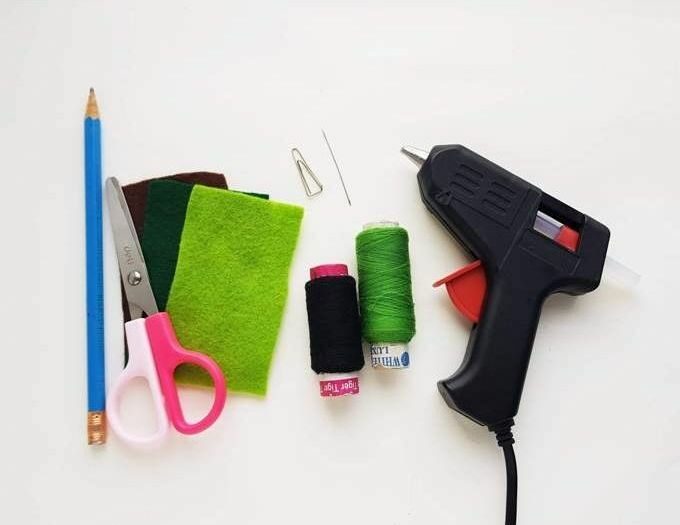
What do you need:
- Colored felt fabric
- Needle and thread
- Pencil
- Hot glue gun
- Paper clip
- Scissors
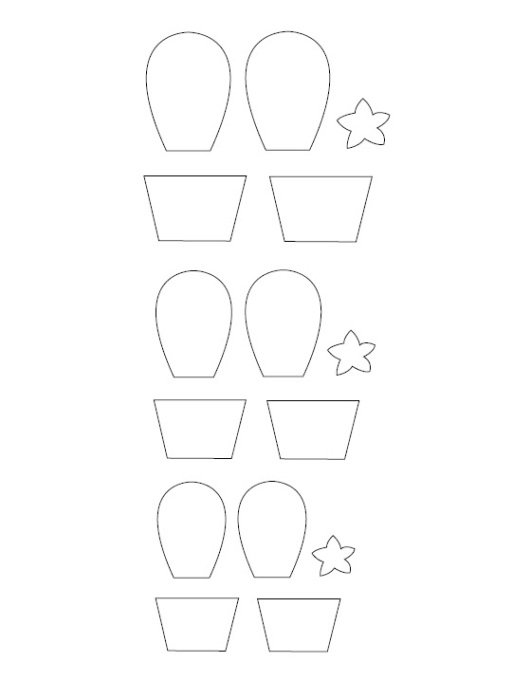
Step 1
Download and print the template for the felt cactus bookmark. The template has the parts for the front and back of the cactus, the pot and the flower.
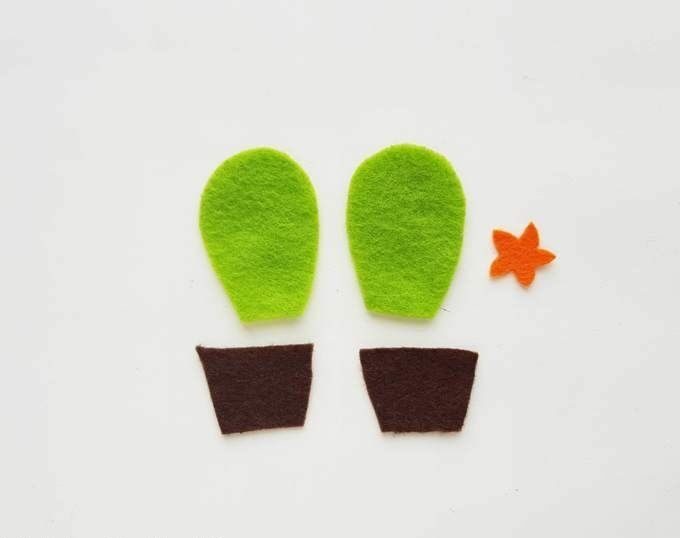
Step 2
Trace and cut out the parts of the template on felt of your chosen colors. Select green colored felt for the cactus pattern, brown for the pot and any colored felt of your choice for the flowers. Trace the template patterns on the selected felt fabrics and cut them out neatly.
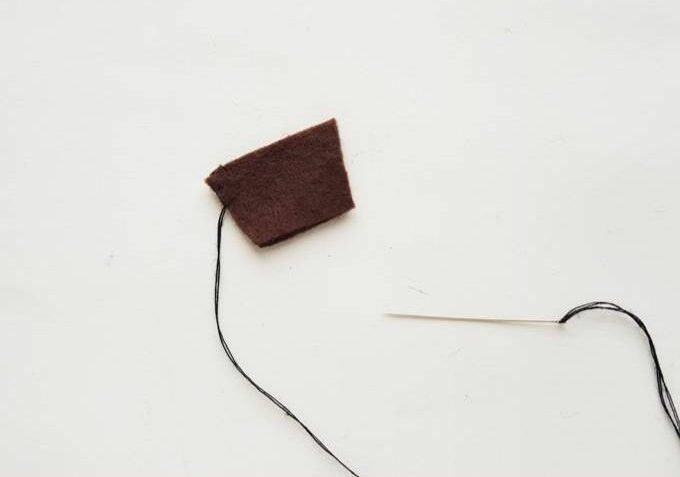
Step 3
Place the 2 pot cutouts together and stitch along the 2 sides and the bottom side of the pot cutouts to join them together. Here we’ve used a flat blanket stitch around the sides. Remember to keep the top end open.
Step 4
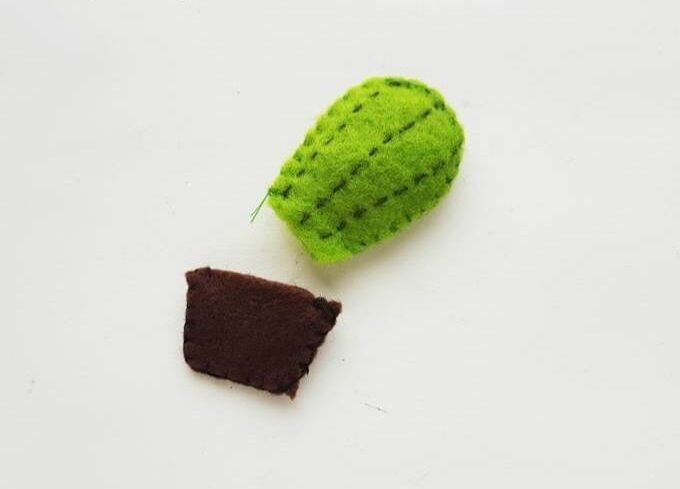
Grab any one of the cactus cutouts and prepare the needle with black thread. Stitch straight lines along the cactus cutout, vertically. Work simple running stitch along the lines.
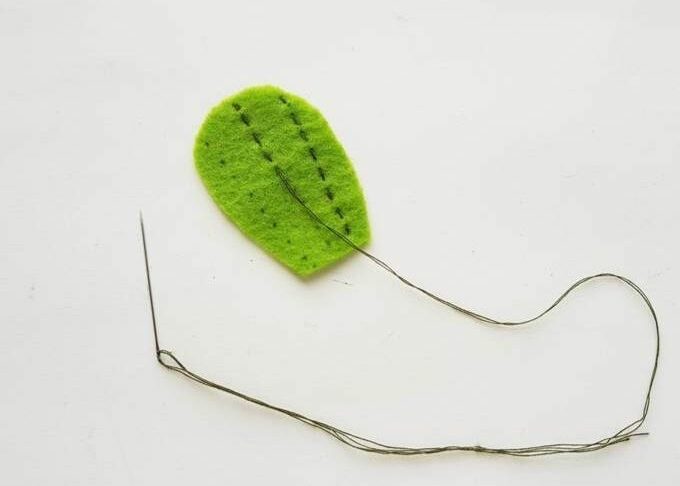
Step 5
I worked 3 lines of running stitch on the cactus cutout. The stitched piece of the cactus cutout will be the front side of the cactus plushie.

Step 6
Place the 2 cactus cutouts together and stitch around the sides and top. Keep the bottom end open. You can either use cotton or scrap felt to fill the cactus felt pattern.
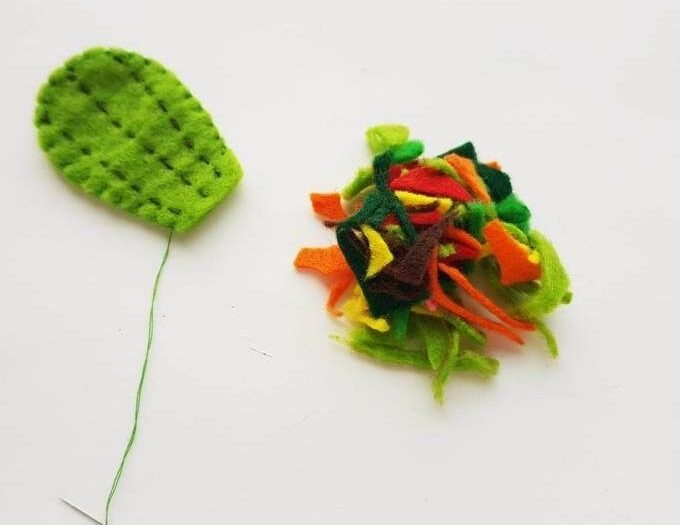
Step 7
Fill the felt cactus pattern with scrap felt through the bottom open end.
Step 8
Fill the felt pot with scrap felt too if you wish to.
Step 9
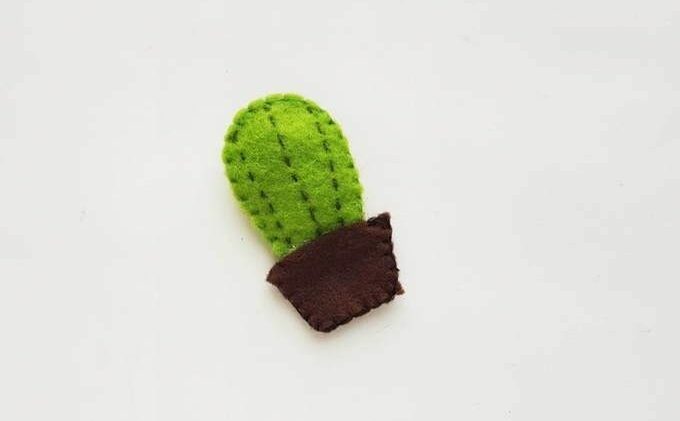
Insert the bottom end of the felt cactus pattern inside the top end of the felt pot pattern. Make sure that both parts overlap each other by a cm. Apply hot glue to close the open ends and join the pot with cactus. You can also stitch them together, if you wish.
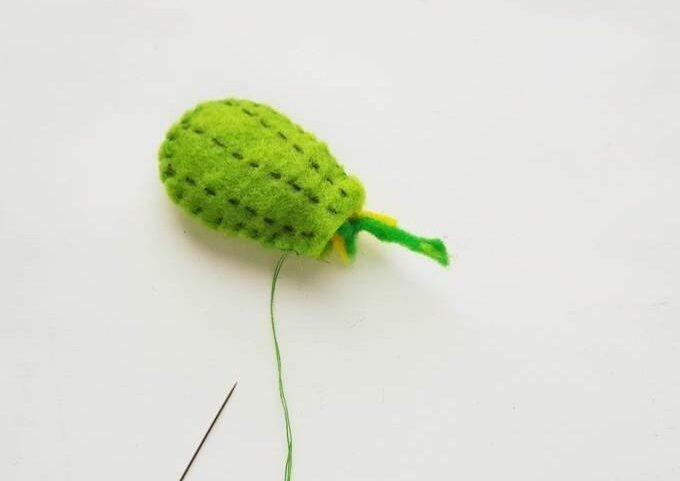
Step 10
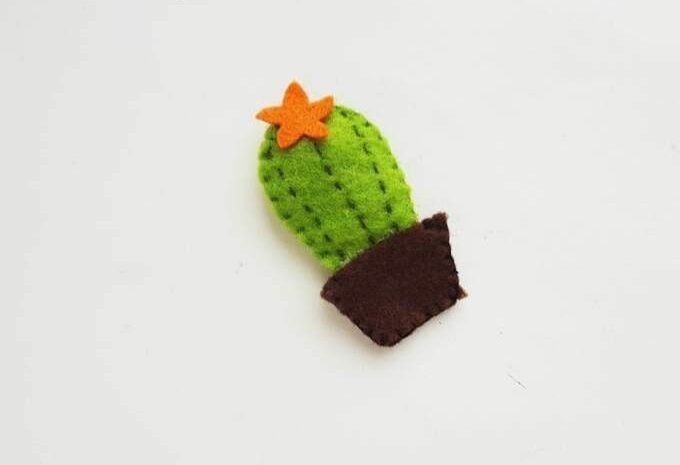
Stitch or glue the small flower cutout on the top-front side of the cactus plushie.

Step 11
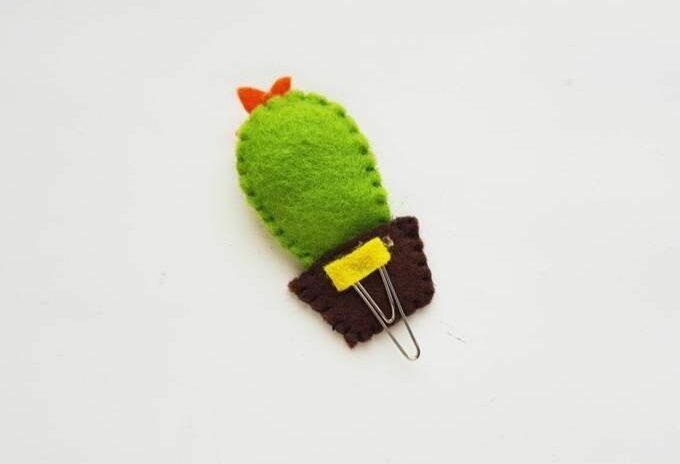
Attach a paper clip on the backside of the cactus pattern. Attach a small piece of felt to cover the top glued side of the paper clip and make sure to keep the bottom side of the paper clip intact, so that it can be sued to clip papers.
Your bookmark is done

How to make a flower basket with colored paper

How to make a toilet paper roll leprechaun

How to make a Christmas arrangement from an old lantern

How to make a Christmas candle

How to make Easter decorations
