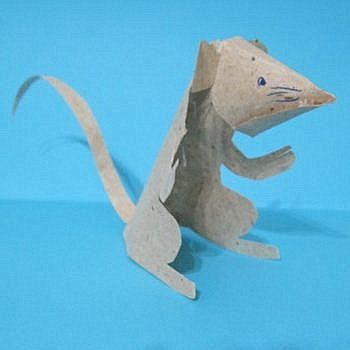
DIY Paper Mouse
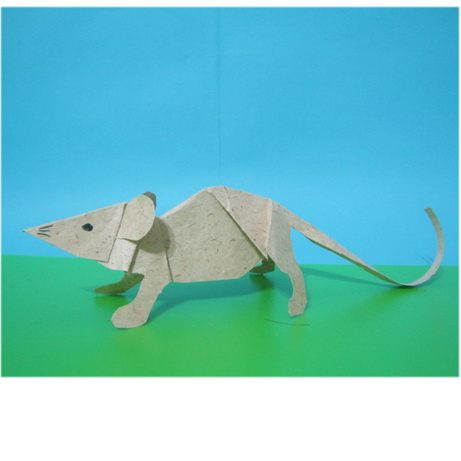
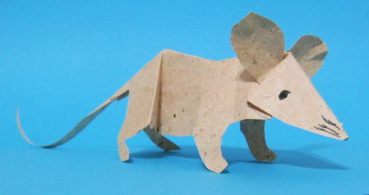
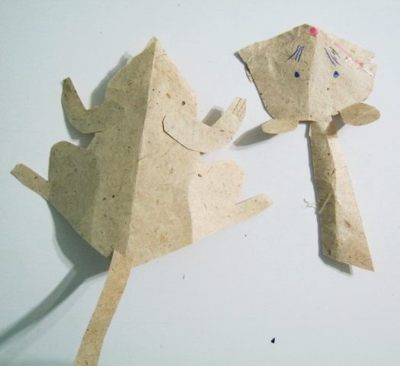
Let`s learn how tomake a paper mouse. But I immediately warn that these will be the crafts glued from paper parts, not origami. Although, we must admit that the ability to deftly bend paper will be very useful to us. When I need to invent a way to make some crafts, I first do it at random, and then I disassemble the result into parts. So, I folded, glued and cut the paper and got a paper mouse:
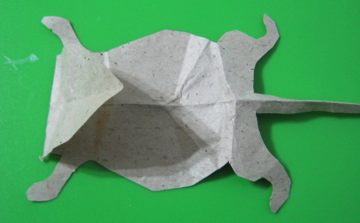
Now let’s straighten it.
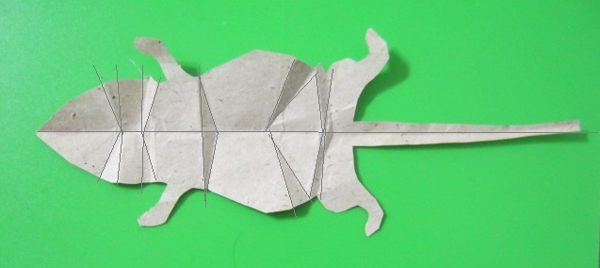
The pattern is very simple. But a lot of folds! In the figure, I specially emphasized them with lines. As you can see, many of these folds are triangular, not simple.
But let’s start reassembling the paper mouse. Bend the head to the back.
And then we bend the workpiece along the length and at the same time move our head forward:
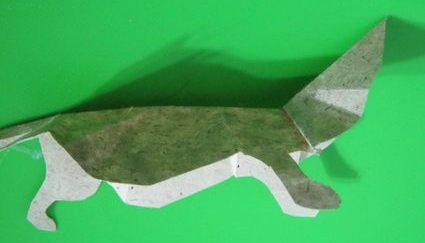
Now the neck of the model is directed forward and upward. But turning up their nose isn’t in the style of mice. Bend its head down with the same triangular bend.
Yes, that’s how it is done.
Now the same fold behind the front legsб and also in front of the hind legs.
That’s all! We figured out all the folds. Now cut out and glue round ears on our heads and draw symmetrical eyes and mustaches.
Lesson 2
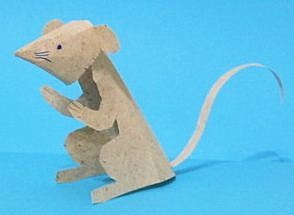
Let’s make a paper model of a seated mouse.
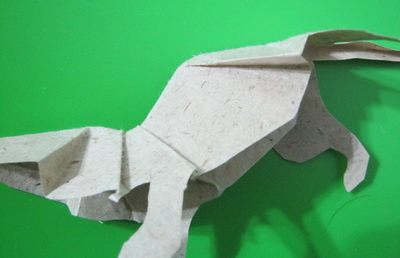
Disassembled into parts, it looks like this:
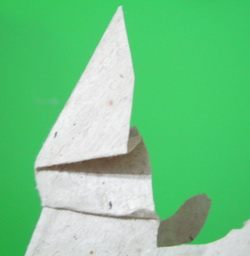
The head is, of course, made in the form of a cone with ears on the sides:

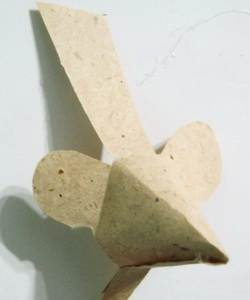
The long strip of paper is used to attach the head to the torso and serves as a neck:

Glue it all together and get a pretty mouse: